

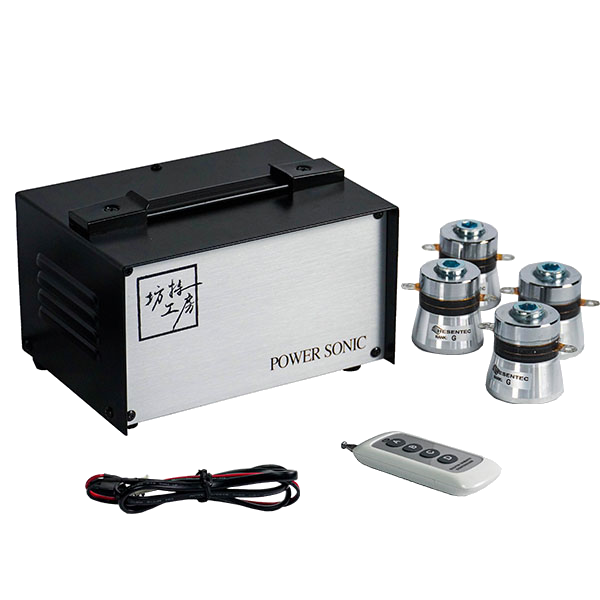
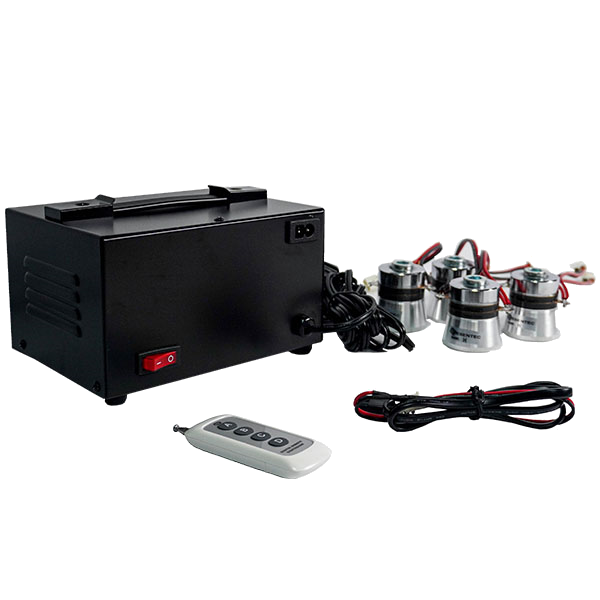
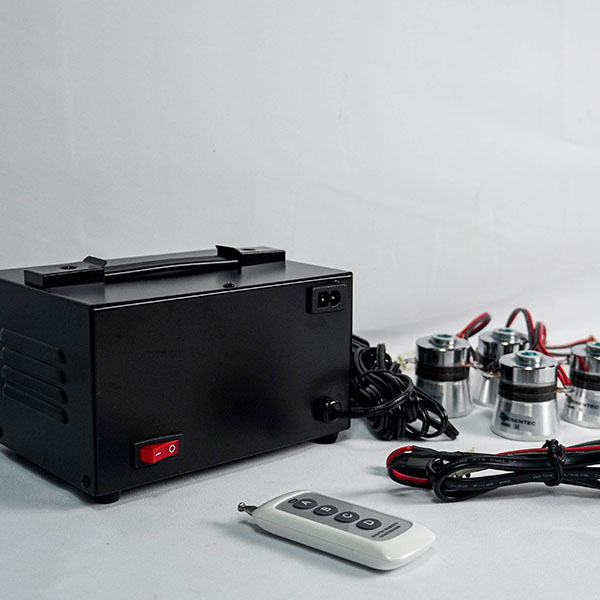
Cleaning Machine


Product features :
◈ Simple DIY installation
◈ All kinds of washing sinks are applicable
◈ Use the original space to create a multifunctional sink
◈ 40,000 vibrations per second, easily washing away tiny blind holes
◈ Can clean dishes, clean all kinds of ornaments, glasses, etc.
Product specifications :
◈ Machine size : 180*140*100 mm
◈ Outer box size : 310*210*150 mm
◈ Voltage : AC110V
◈ Ultrasonic power : 320W
◈ Cleaning capacity : 400*300*200 mm
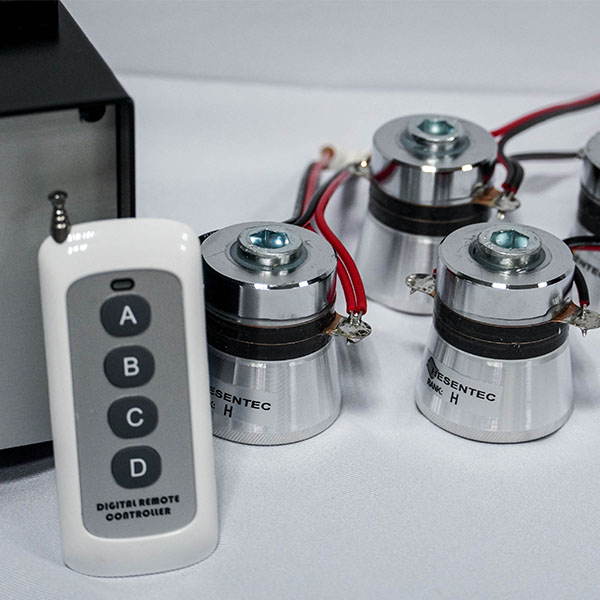
◈ Switching mode : remote control
Product description :
This kit can choose three cleaning times
A (timer 15 minutes) B (timer 30 minutes) C (timer 60 minutes) D (shutdown)
*This kit is for home use only. It is not recommended to use it for long time in business in the morning, middle and evening or in experimental nature.
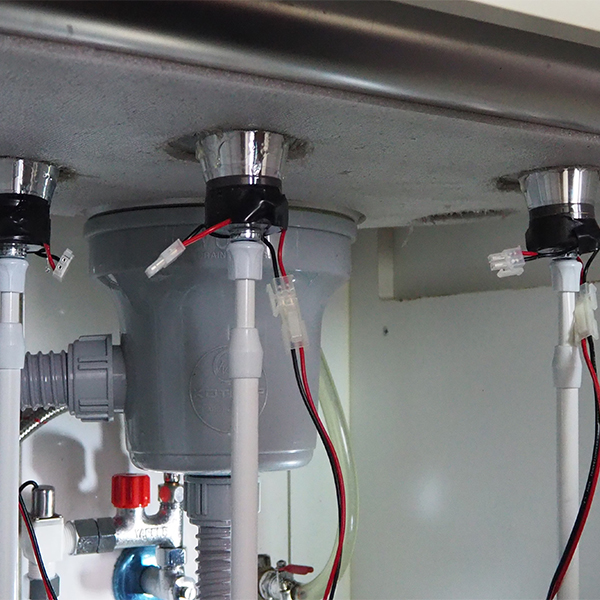
 Instruction Manual
Preparation materials: compass knife, gauze, glue remover, utility knife
STEP1
Foam the bottom of the sink, use a compass knife to cut out four holes for the vibrator, and then use a utility knife to remove the residual glue. ,,,,,,
STEP2
Use gauze to polish the bottom surface of the four-hole sink without any foam residue. (You can buy a glue remover to remove it quickly)
△The height and angle of the support rod are adjusted in advance (drawing a mark on the floor can make the positioning more accurate), this is to make the vibrator completely close to the bottom of the sink, because the bottom of each sink is not necessarily flat, it should be adjusted in advance Support rod.
STEP3
With the oscillating part facing up, first apply an appropriate amount of A glue to the oscillating surface, and then apply the same amount of B glue and mix it evenly.
(Quickly complete the gluing within 30 seconds, stick to the bottom of the sink, and support the pole at the fastest speed) After the action is completed, let it stand for about one hour before it can be used.
Note: The above steps need to be completed one vibrator at a time, then change the second vibrator to complete the four vibrators in sequence.
